Things required to pressure wash your garbage can
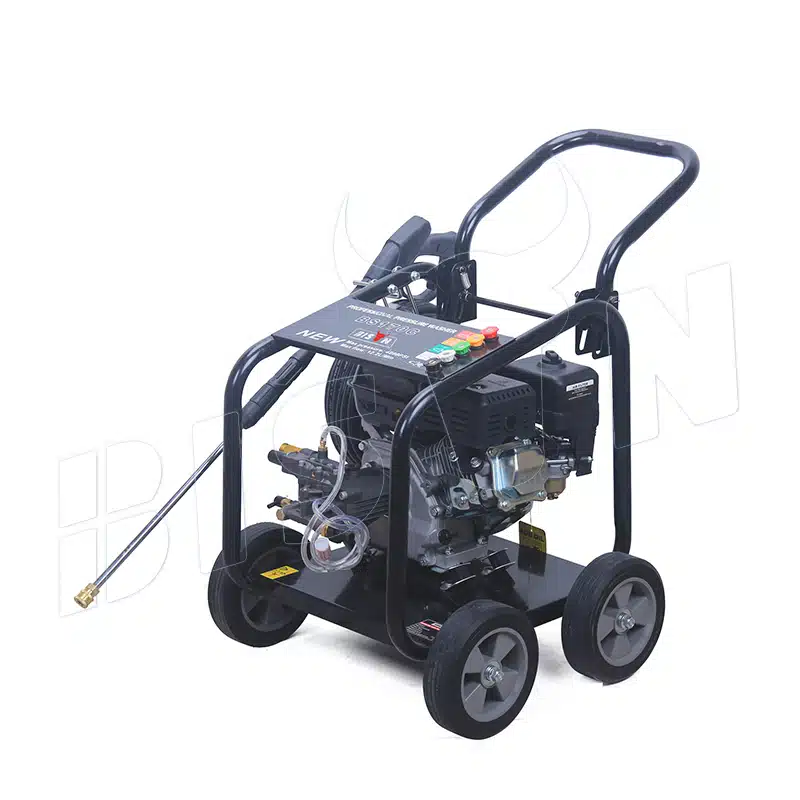
1. Pressure washer
BIOSN recommends using a pressure washer with a PSI rating of 1,500 to 2,500 because it is powerful enough to remove dirt and grime without damaging the plastic or thin materials. When deciding between a gas-powered or electric pressure washer, consider the following:
- Gasoline/diesel pressure washer: Ideal for heavy-duty cleaning tasks and larger garbage cans. Provides more power, typically with PSI (pounds per square inch) ratings of 2,500 to 3,200.
- Electric pressure washer: Perfect for light- to medium-duty cleaning. Quieter, easier to maintain, and suited for smaller cans. PSI ratings typically range from 1,300 to 2,000.
2.Nozzles
For cleaning garbage cans, we recommend using 25-degree and 40-degree nozzles. Avoid using zero-degree nozzles, as they are too concentrated and can damage the surface of plastic or metal garbage cans.
3.Protective gear
Protecting yourself is just as important as cleaning the garbage can. You should wear rubber gloves, goggles, and closed-toe shoes.
4.Cleaning solutions
Using a cleaning solution will help break down odors, bacteria, and stubborn dirt inside and outside your garbage can. Here are some options:
- Bleach solution (1 part bleach to 9 parts water)
- Dishwashing liquid (a few tablespoons per gallon of water)
- Vinegar solution (1 part vinegar to 3 parts water)
- Degreasing agent
- Eco-friendly solution
- All-purpose cleaner
- Baking soda
5.Optional tools
- High-pressure washer brush: Scrub stubborn stains that cannot be easily removed.
- Hose: Pre-rinse or connect the pressure washer to a water source.
- Towel or cloth: Dry quickly after cleaning.
How to pressure wash a garbage can: Step-by-step guide
Step 1: empty the garbage can
After emptying the garbage can rinse the garbage can with a hose to remove any liquid residue, loose dirt, or debris that may be clinging to the sides or bottom. A low-pressure hose application at this stage can dislodge surface contaminants, though this preparatory measure remains optional based on debris severity.
Step 2: apply cleaning solution
Observe the dirt on the garbage can and choose the appropriate cleaning solution:
- Ordinary grease and dirt can be broken down with dishwashing liquid or all-purpose cleaner
- Choose a degreaser for severe stains or greasy residue.
- Use baking soda or vinegar for trash cans with odors.
Apply the appropriate cleaning solution to the inside and outside of the trash can, paying special attention to the bottom and sides where dirt tends to accumulate. Later, let the cleaning solution sit for five to ten minutes. This will give the solution sufficient time to break down the dirt.
Step 3: set up the pressure washer
Connect the pressure washer to a water source (such as a hose) and ensure it is turned off before you begin. Install the designated spray tip and configure the system to moderate intensity (targeting 1,300–2,000 PSI for adjustable units). Complete the process by inspecting all fittings for tightness and conducting a brief operational test to confirm proper functionality.
Step 4: pressure wash the inside
Place the nozzle (40 degrees) about 12 inches from the surface of the garbage can. Then start pressure washing the inside from the bottom up, which can prevent streaking and have better coverage.
Focus on the bottom, corners, and seams where dirt tends to accumulate. Adjust the nozzle (25 degrees) about 12-18 inches from the surface for the best cleaning effect.
Move the nozzle systematically in horizontal or vertical passes (e.g., left-to-right or top-to-bottom) to ensure full sanitization of all internal areas.
Step 5: pressure wash the exterior
Spray the exterior of the garbage can in sections, using long sweeping motions. Employ steady, overlapping strokes with a 40° spray tip, maintaining a 12-inch gap between the nozzle and material. This nozzle angle ensures broad coverage without excessive force, minimizing wear on surfaces already addressed in prior steps.
Note: Always be careful with any logos or painted areas during the washing process to avoid damaging them.
Step 6: clean the lid
Garbage can lids typically rank among the most contaminated zones due to frequent exposure to liquid residues or debris. Prioritize systematically addressing both inner and outer surfaces using high-pressure rinsing. Initiate cleaning at the highest point to tackle dried spills or adhesive waste residues. Focus particularly on joining edges, grip points, and rubber gaskets—common problem spots prone to microbial growth or trapped moisture. For stubborn residue, combine pressurized washing with brief manual brushing to ensure complete sanitization.
Step 7: rinse thoroughly and air dry the garbage can
Use a pressure washer to thoroughly rinse the garbage can, making sure there is no soap or detergent residue left inside or outside the garbage can. Residue can cause odors to appear or attract dust more quickly.
Tip the garbage can upside down in a sunny area and let it air dry naturally. Sunlight not only speeds up the drying process but also helps kill bacteria and any remaining odors. You can also use a dry towel or cloth to wipe the garbage can and remove excess moisture.
By following these steps, you will have a garbage can that is free of pests, mold, and odors.